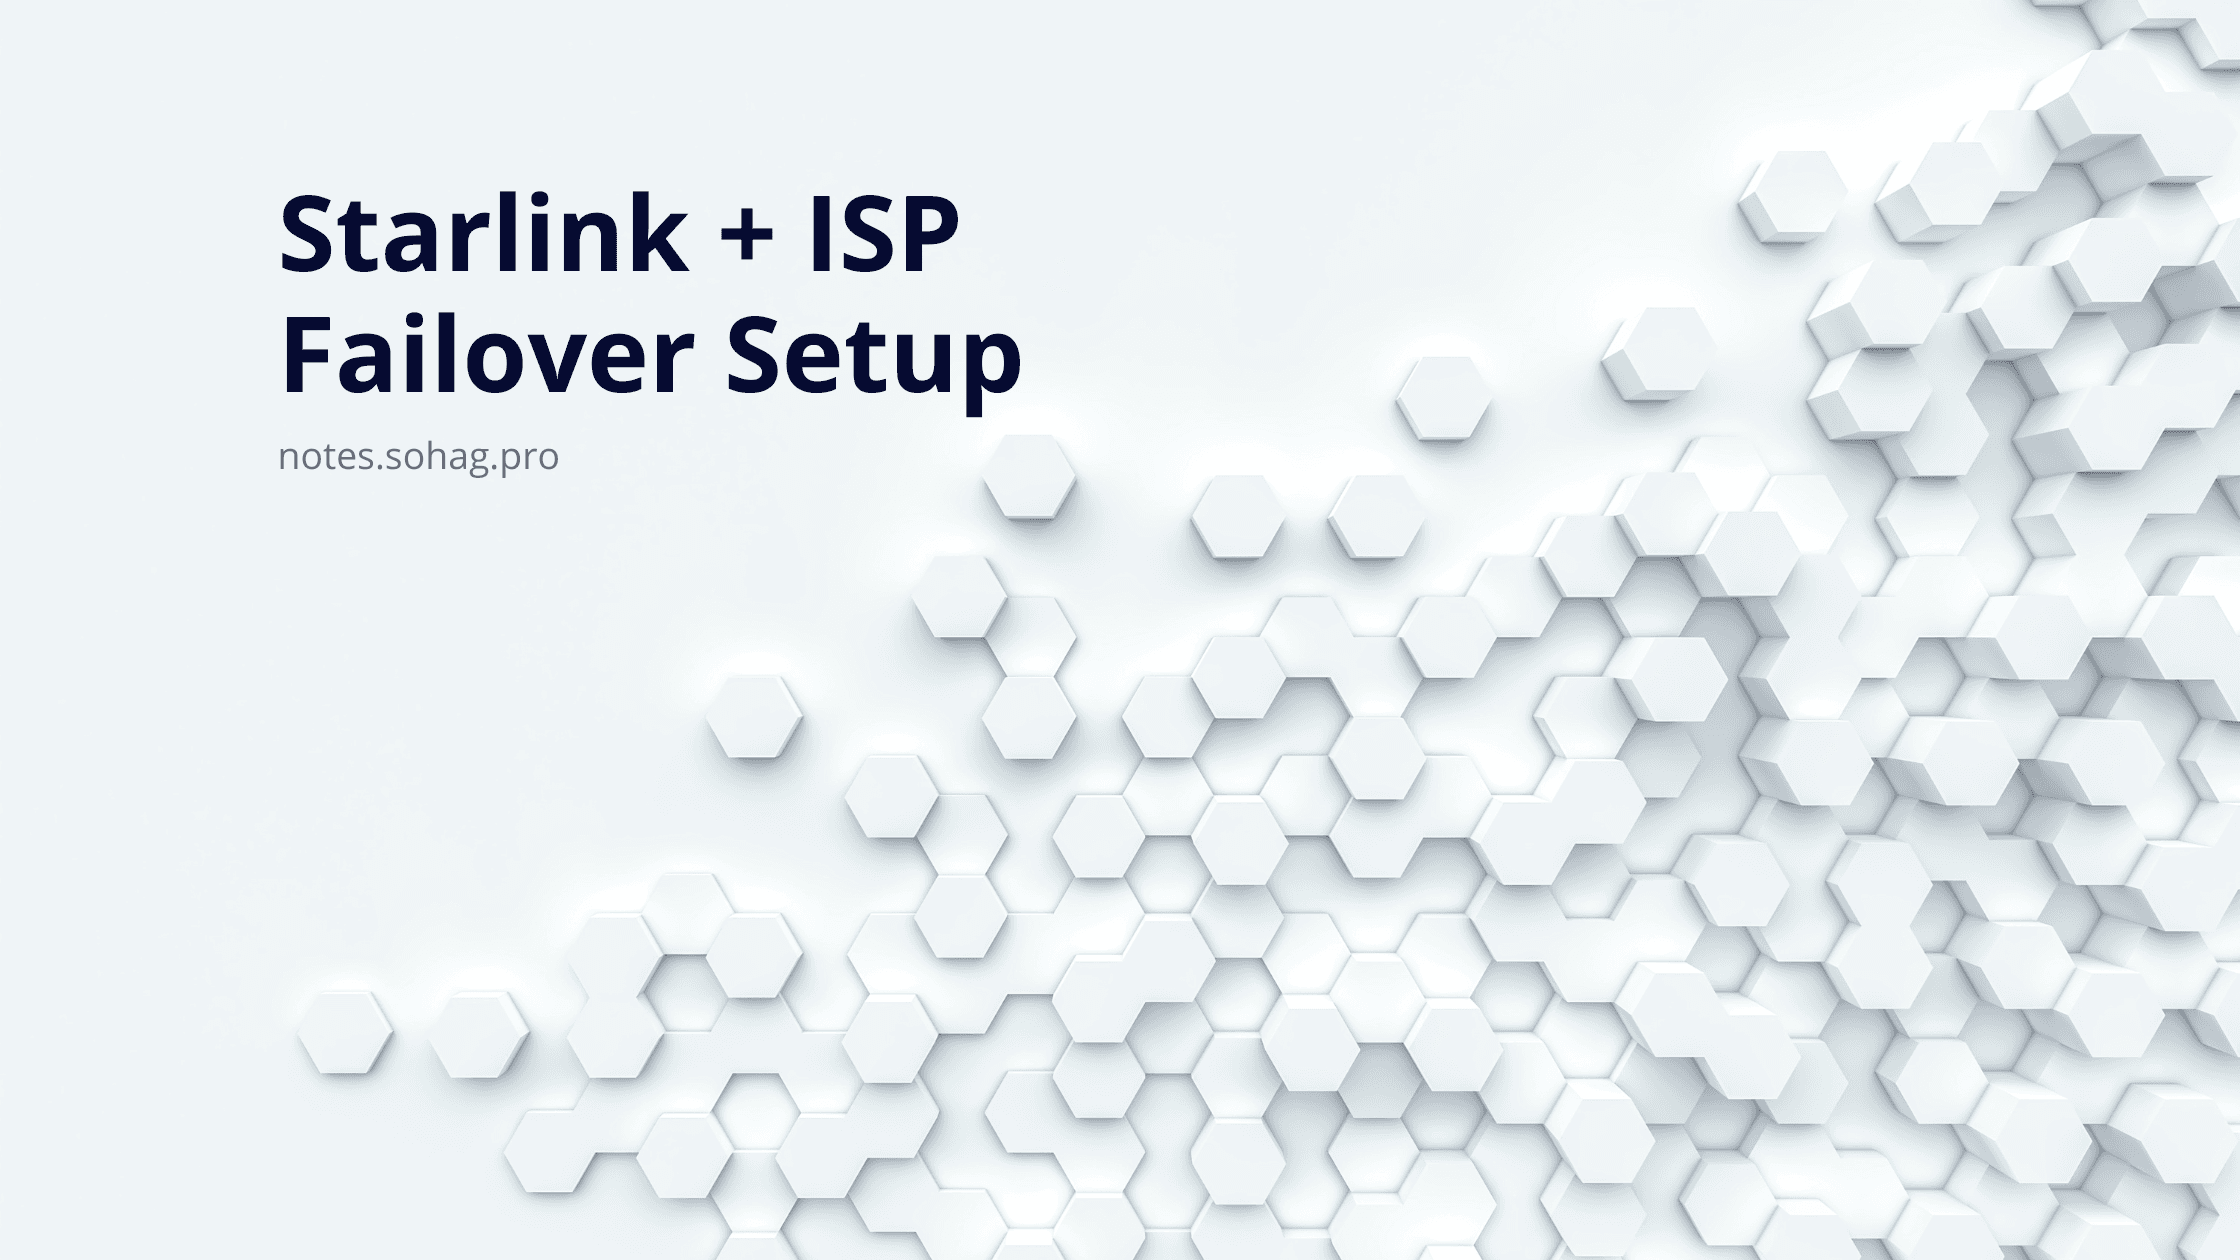
Starlink + ISP Failover Setup
A Beginner’s Guide to Bulletproof Internet at Home
WhoAmI => notes.sohag.pro/author
🚀 Starlink + ISP Failover Setup: A Beginner’s Guide to Bulletproof Internet at Home
Imagine you're in the middle of an important Zoom call — and suddenly your internet cuts out. Your heart skips a beat. That dreaded buffering circle spins on the screen. You're disconnected.
Now imagine instead: the internet switches seamlessly to a backup connection. Your meeting continues without a glitch.
That’s the power of failover internet. In this guide, I’ll show you how I used Starlink as primary internet and a local ISP via PPPoE as backup, with the help of a MikroTik router — and how you can do the same.
Whether you work from home, stream content, or run a smart home — this setup adds peace of mind and productivity.
🧰 Hardware I Used
MikroTik hEX S (RB760iGS) — compact and powerful router
TP-Link Deco M4 Mesh (3 units) — for strong Wi-Fi across the house
Windows PC — for initial configuration
⚙️ The Big Picture
We’ll configure:
Starlink (ether1) as the main internet (DHCP)
Local ISP (ether2) using PPPoE as backup
Failover logic so the router automatically switches when Starlink fails
LAN setup with DHCP + NAT
Optional: MAC spoofing, DNS, and firewall basics

🪜 Step-by-Step Setup (Beginner Friendly)
🔌 Step 1: Connect to Your MikroTik Router
Plug your Windows PC into ether2–ether5 on the MikroTik router (avoid ether1 — that’s for internet input).
On Windows, open
ncpa.cpl, select your Ethernet adapter > Properties > TCP/IPv4 → Set to “Obtain IP automatically”.Your PC should get an IP like
192.168.88.x.
💻 Step 2: Login to MikroTik via Winbox
Download Winbox from: mikrotik.com/download
Open it — no install needed.
Look under the Neighbors tab — you’ll see your router’s MAC and IP (
192.168.88.1)Connect using:
Username:
adminPassword: (Check router label or leave blank for first login)
Click Connect
🔧 Step 3: Initial Router Setup
Change the admin password
- Go to: System > Users > admin > Set Password
Update RouterOS
Go to: System > Packages > Check for Updates > Download & Install
Channel:
stable
Router will reboot. Reconnect after that.
🌐 WAN Configuration
🔌 Step 4: Connect WAN Sources
| Port | Use |
ether1 | Starlink Ethernet Adapter |
ether2 | ISP modem/router (PPPoE) |
🚀 Step 5: Set Starlink as Primary WAN
Go to IP > DHCP Client
Click
+Set Interface to
ether1Click Apply and **OK`
✅ Starlink will now get a dynamic IP as your primary internet.
🌍 Step 6: Set Up ISP as Backup via PPPoE
Go to Interfaces > + > PPPoE Client
Set:
Name:
pppoe-out1Interface:
ether2
In Dial Out tab:
Username:
your-pppoe-usernamePassword:
your-passwordEnable: Add Default Route
Set Default Route Distance:
2
Apply and OK
✅ This ensures PPPoE acts as a failover connection (lower priority than Starlink).
📶 Step 7: LAN Setup (Home Devices)
Go to Bridge > Add New Bridge
Add ether3 to ether5 to the bridge
Go to IP > DHCP Server > Setup
Choose bridge as interface
Set default IP range (e.g.,
192.168.88.0/24)
Go to IP > Firewall > NAT
Add masquerade rules for:
Out Interface:
ether1→ Action: masquerade- Out Interface:
pppoe-out1→ Action: masquerade
- Out Interface:
✅ Now all LAN devices can share internet via both connections.
🧠 Step 8: Failover in Action
Go to IP > Routes — you should see:
Starlink → distance
1PPPoE → distance
2
If Starlink fails, MikroTik auto-switches to the PPPoE route.
💡 Warm failover: It’s fast, not instant. No downtime for most tasks (buffering may happen once).
🧪 Advanced Tips (Optional but Useful)
🔄 Script-Based Netwatch (For Active Failover)
If you want faster detection, set up Netwatch:
Go to Tools > Netwatch
Monitor a reliable IP (e.g.,
8.8.8.8)On Down, disable Starlink route
On Up, re-enable it
🧙 Spoof MAC Address (If ISP Locks It)
Some ISPs only allow internet on registered MACs.
To clone MAC on ether2:
/interface ethernet set ether2 mac-address=XX:XX:XX:XX:XX:XX
Then confirm under Interfaces > ether2
🌐 Setup DNS
Go to IP > DNS
Add:
8.8.8.8(Google)1.1.1.1(Cloudflare)
Enable Allow Remote Requests
✅ This helps your LAN devices resolve domains via MikroTik.
🎉 You Did It!
You now have a smart home internet setup with:
✅ Primary internet from Starlink
✅ Automatic failover to ISP (PPPoE)
✅ Seamless recovery when Starlink is back
✅ Stable internet for work, video calls, gaming, and streaming
👨💻 Real Life Example: Why I Needed This
I live in a semi-urban area where power cuts or weather often interrupt traditional ISP service. Starlink provides excellent uptime — but even satellite can sometimes drop.
Thanks to this setup, when Starlink stutters, my MikroTik router quietly shifts over to my ISP. I keep working, the Netflix show doesn’t stop, and my smart lights stay responsive.
It’s like having internet insurance — and it’s worth every minute of setup.
🧭 What’s Next?
Now that you're comfortable with MikroTik basics, you can explore:
🔐 Firewall rules
🎛️ Bandwidth control
🧅 VPN access to your home
🧰 Remote monitoring and management
💬 Questions or Feedback?
Drop a comment below if you run into any issues or want me to cover more advanced MikroTik topics. Happy networking!